In this article, you’ll learn how to install Graylog on Ubuntu 20.04. Graylog is an open-source enterprise-grade log management system, And also it will extract data from the server and aggregates logs. Graylog allows visualizing and search logs on web UI.
Steps to Install Graylog On Ubuntu 20.04
Step 1: Update the Ubuntu system
to avoid any dependency issues it is always recommended updating the system before installing any package.
$ sudo apt update
Step 2: Install OpenJDK on Ubuntu
Dependency on Graylog is Elasticsearch. Elasticsearch required Java (OpenJDK/Oracle Java) installed on the system.
$ sudo apt -y install vim bash-completion apt-transport-https uuid-runtime pwgen openjdk-8-jre-headless
Step 3: Install Elasticsearch on Ubuntu
Graylog 3 requires Elasticsearch 6.x to work.
sudo apt update

sudo apt -y install apt-transport-https

wget -qO - https://artifacts.elastic.co/GPG-KEY-elasticsearch | sudo apt-key add -

echo "deb https://artifacts.elastic.co/packages/oss-6.x/apt stable main" | sudo tee -a /etc/apt/sources.list.d/elastic-6.x.list

sudo apt update

sudo apt -y install elasticsearch-oss
3.1 Set Elasticsearch cluster name:
sudo vim /etc/elasticsearch/elasticsearch.yml
eg:

cluster.name: graylog

action.auto_create_index: false
3.2 Restart the Elasticsearch service:
sudo systemctl daemon-reload

sudo systemctl enable elasticsearch.service

sudo systemctl restart elasticsearch.service
Step 4: Install MongoDB on Ubuntu
4.1: Import MongoDB public GPG Key
sudo apt update

sudo apt install gnupg

wget -qO - https://www.mongodb.org/static/pgp/server-4.4.asc | sudo apt-key add -
4.2: Add MongoDB 4.4 APT Repository to Ubuntu
echo "deb [ arch=amd64,arm64 ] https://repo.mongodb.org/apt/ubuntu focal/mongodb-org/4.4 multiverse" | sudo tee /etc/apt/sources.list.d/mongodb-org-4.4.list
sudo apt update
4.3: Install MongoDB 4.4 on Ubuntu
sudo apt install -y mongodb-org
4.4: Enable MongoDB service auto start on boot
sudo systemctl enable --now mongod
4.5: Verify MongoDB service status
apt install net-tools

systemctl status mongod

netstat -tunelp | grep 27017
MongoDB config file: ‘/etc/mongod.conf’, After changes make sure you restart the MongoDB service
4.6: Test the connection
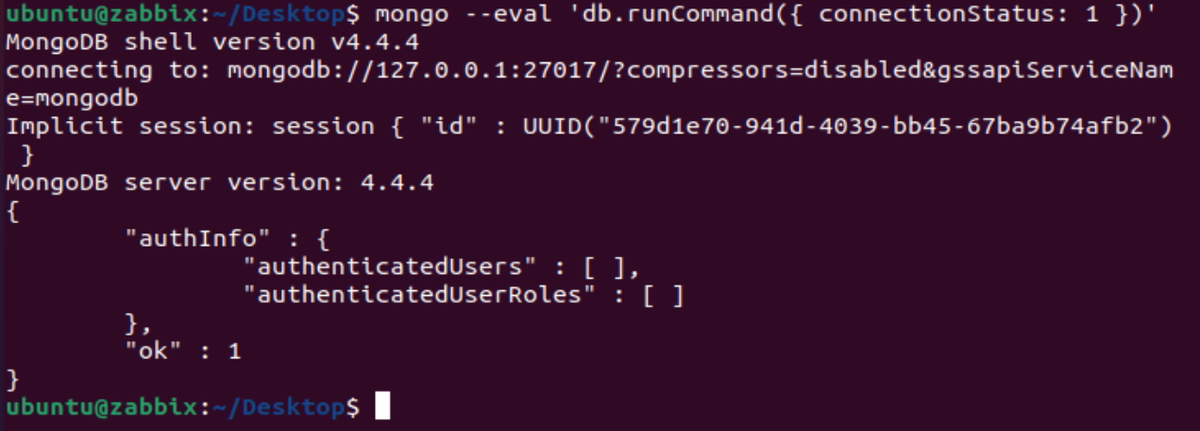
mongo --eval 'db.runCommand({ connectionStatus: 1 })'
If everything is working fine then you will get “ok” : 1 in above output.
Step 5: Install Graylog on Ubuntu
Add Graylog repository and install graylog-server package
wget https://packages.graylog2.org/repo/packages/graylog-3.1-repository_latest.deb

sudo dpkg -i graylog-3.1-repository_latest.deb

sudo apt update

sudo apt -y install graylog-server
Step 6: Configure Graylog on Ubuntu
Generate admin user password with a 256-bit hash:
echo -n MyStrongPassword | sha256sum
Sample Output:
ubuntu@zabbix:~/Desktop$ echo -n MyStrongPassword | sha256sum
7a96004f5149811c069f40146b08cf45f45087d4530d35f7d4d88d058db9612d -
ubuntu@zabbix:~/Desktop$
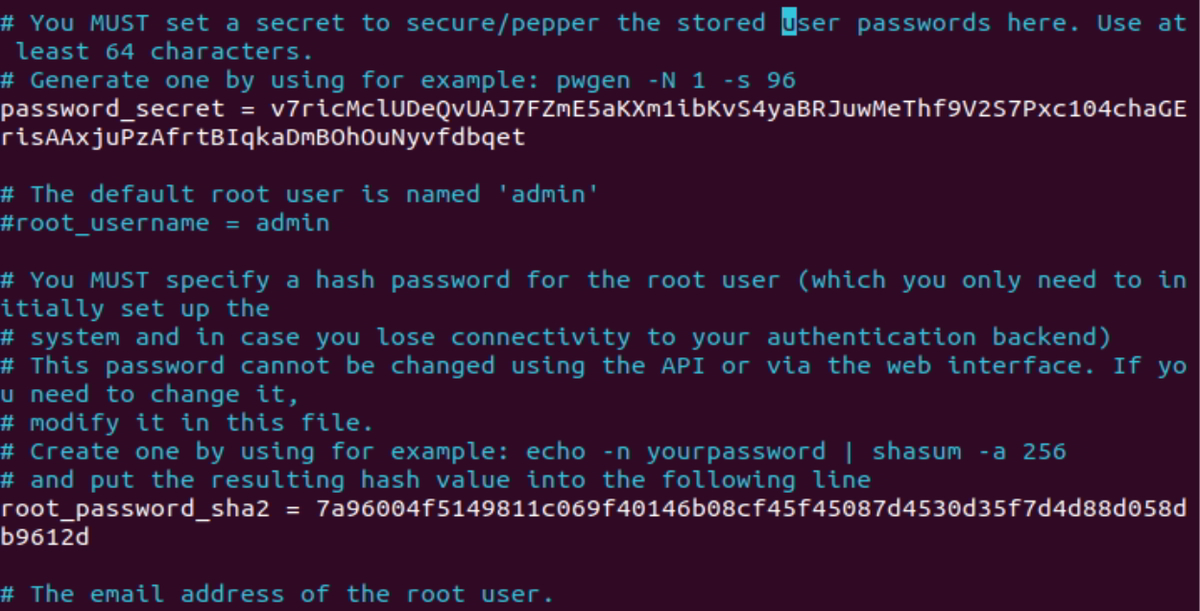
Locate server config file and add the password to the root_password_sha2 line.
sudo vim /etc/graylog/server/server.conf
root_password_sha2 =
7a96004f5149811c069f40146b08cf45f45087d4530d35f7d4d88d058db9612d
Now generate and set password for password_secret in file ‘/etc/graylog/server/server.conf’
sudo apt-get install pwgen

pwgen -N 1 -s 96
Sample Output:
ubuntu@zabbix:~/Desktop$ pwgen -N 1 -s 96
v7ricMclUDeQvUAJ7FZmE5aKXm1ibKvS4yaBRJuwMeThf9V2S7Pxc104chaGErisAAxjuPzAfrtBIqkaDmBOhOuNyvfdbqet
ubuntu@zabbix:~/Desktop$
$ sudo vim /etc/graylog/server/server.conf
password_secret = v7ricMclUDeQvUAJ7FZmE5aKXm1ibKvS4yaBRJuwMeThf9V2S7Pxc104chaGErisAAxjuPzAfrtBIqkaDmBOhOuNyvfdbqet
Step 7: Start and enable Graylog service
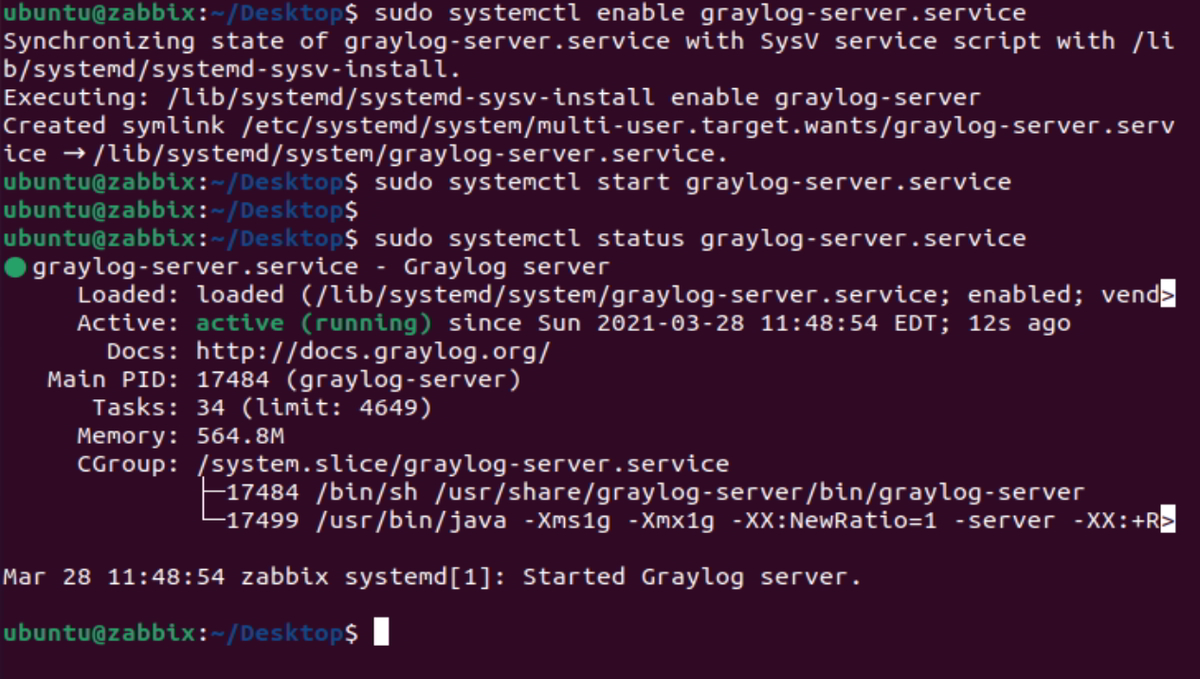
sudo systemctl enable graylog-server.service
sudo systemctl start graylog-server.service
By default, REST API will listen on:
rest_listen_uri = http://127.0.0.1:9000/api/
Web interface URI will be:
web_listen_uri = http://127.0.0.1:9000/
Web interface URI can be changed to Server IP.
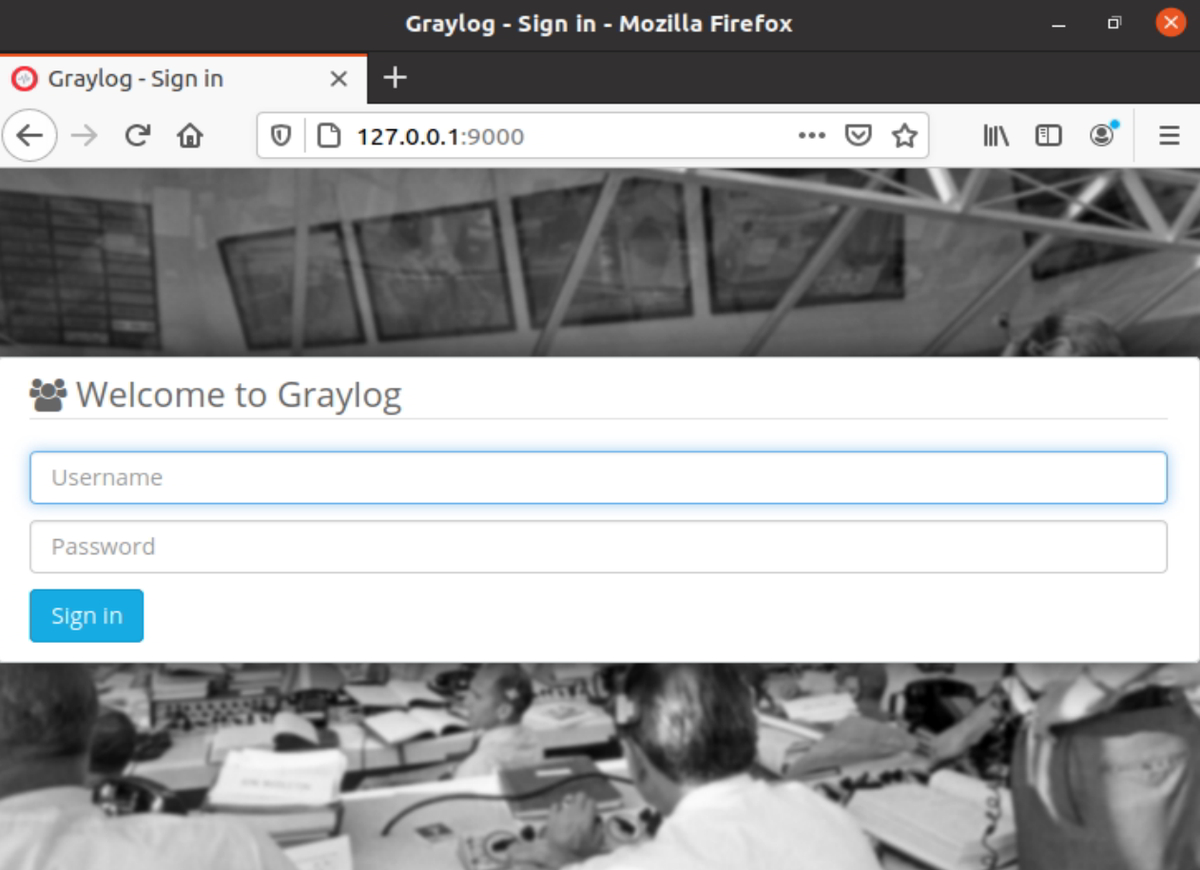
Step 8: Access Graylog Web UI on Ubuntu
http://ubuntuip_or_hostname:9000
Login to the server with the credentials as mentioned in steps 6.
Default user: admin
Password: MyStrongPassword
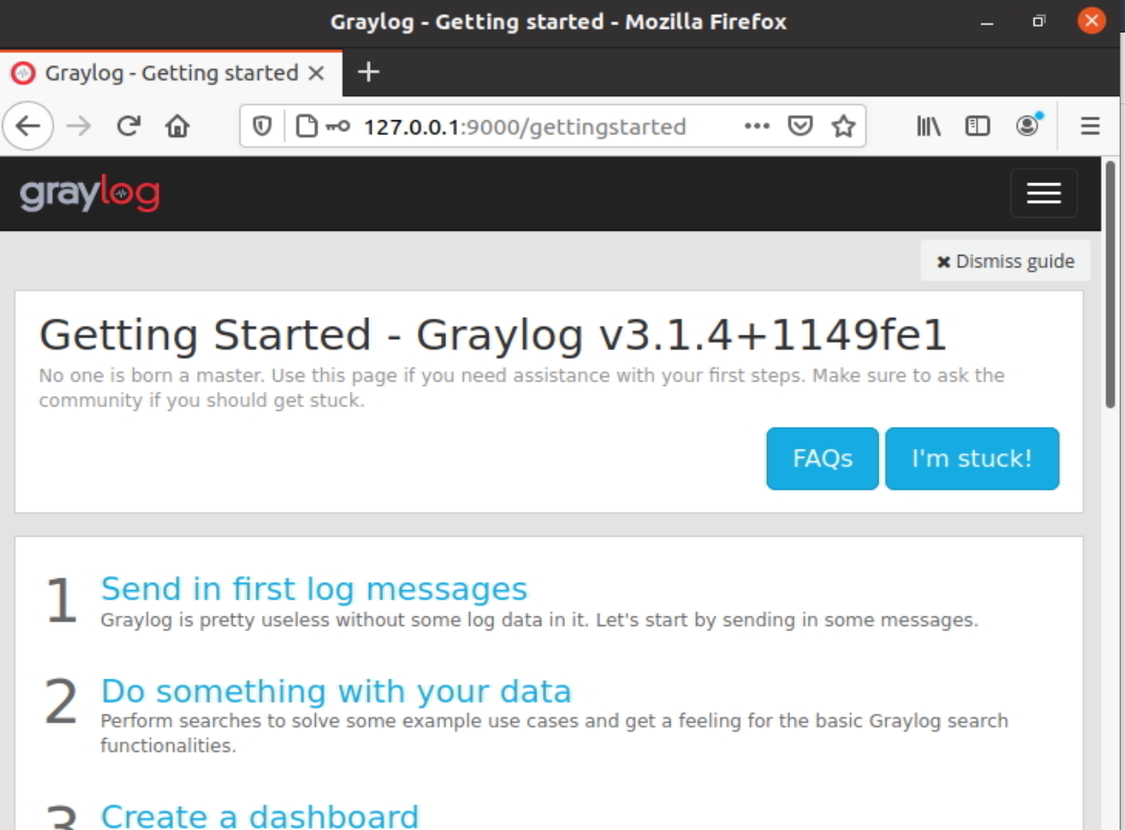
Home page of Graylog:
(Below steps is Optional) – If you want to access Graylog with the domain then you need Nginx proxy as mention in steps 9.
Step 9: Configure Nginx Proxy if you want to access Graylog with domain
Prerequisite to install Nginx on Ubuntu system
Here is the sample Nginx configuration without https (localaccess)
$ cat /etc/nginx/conf.d/graylog.conf
server
{
server_name graylogserver.sysadminxpert.com;

location / {
proxy_set_header Host $http_host;
proxy_set_header X-Forwarded-Host $host;
proxy_set_header X-Forwarded-Server $host;
proxy_set_header X-Forwarded-For $proxy_add_x_forwarded_for;
proxy_set_header X-Graylog-Server-URL http://$server_name/api;
proxy_pass http://127.0.0.1:9000;
}
}
sudo systemctl restart nginx
Access Graylog web user interface on http://domain.com
Login to the server with the credentials as mentioned in steps 6.
You have successfully installed and configure Graylog server.
This is the End of a tutorial, How To Install Graylog On Ubuntu 20.04.




Hi There, Thanks for this, but i still couldnt get it working.
Couple of points:
4.2 / 4.3 – Missed an “apt update” between
4.5 – Had to install run “apt install net-tools” before could run the netstat command.
Thanks we updated the blog.