In this tutorial, you’ll come to know how to install the Gdu tool for Disk Usage Analyzer for Linux. Gdu tool is a free Open-source disk usage analyzer, and it is written in go.
Gdu has two modes:
- Interactive (default)
- Non-interactive.
Steps to Install Gdu tool for Disk Usage Analyzer for Linux
Step 1: Install Gdu on CentOS 7 or RHEL 7
Download Gdu from the Github release page.
$ curl -L https://github.com/dundee/gdu/releases/latest/download/gdu_linux_amd64.tgz | tar xz
$ chmod +x gdu_linux_amd64
$ sudo mv gdu_linux_amd64 /usr/bin/gdu
Sample Output:
[SysAdminXpert@centos ~]$ curl -L https://github.com/dundee/gdu/releases/latest/download/gdu_linux_amd64.tgz | tar xz
% Total % Received % Xferd Average Speed Time Time Time Current
Dload Upload Total Spent Left Speed
100 140 100 140 0 0 137 0 0:00:01 0:00:01 --:--:-- 138
100 627 100 627 0 0 471 0 0:00:01 0:00:01 --:--:-- 612k
100 1831k 100 1831k 0 0 390k 0 0:00:04 0:00:04 --:--:-- 777k
[SysAdminXpert@centos ~]$

[SysAdminXpert@centos ~]$ chmod +x gdu_linux_amd64
[SysAdminXpert@centos ~]$ ll
total 5492
-rwxr-xr-x. 1 SysAdminXpert SysAdminXpert 5615616 Mar 27 16:47 gdu_linux_amd64
-rw-rw-r--. 1 SysAdminXpert SysAdminXpert 5504 Apr 4 09:59 service.sh
[SysAdminXpert@centos ~]$

[SysAdminXpert@centos ~]$ sudo mv gdu_linux_amd64 /usr/bin/gdu
[sudo] password for SysAdminXpert:
[SysAdminXpert@centos ~]$
For Arch Linux:
$ yay -S gdu
For Debian:
$ dpkg -i gdu_*_amd64.deb
For Ubuntu:
$ add-apt-repository ppa:daniel-milde/gdu
$ apt-get update
$ apt-get install gdu
For NixOS:
$ nix-env -iA nixos.gdu
For Homebrew:
brew install gdu
Step 2: Verify Gdu tool
$ gdu --version
Sample Output:
[SysAdminXpert@centos ~]$ gdu --version
Version: v4.9.1
Built time: Sat Mar 27 09:47:28 PM CET 2021
Built user: dundee
[SysAdminXpert@centos ~]$
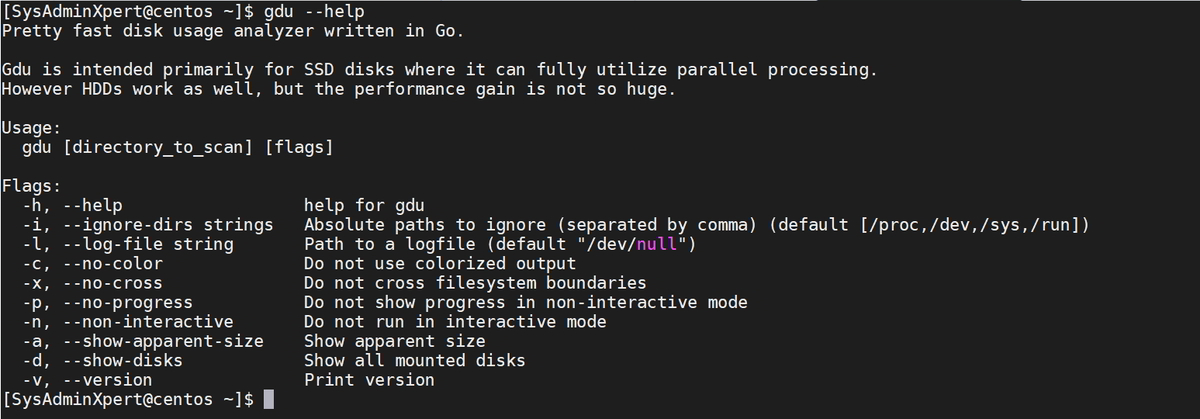
Check Option using help flag
$ gdu --help
gdu [flags] [directory_to_scan]To scan the current working directory
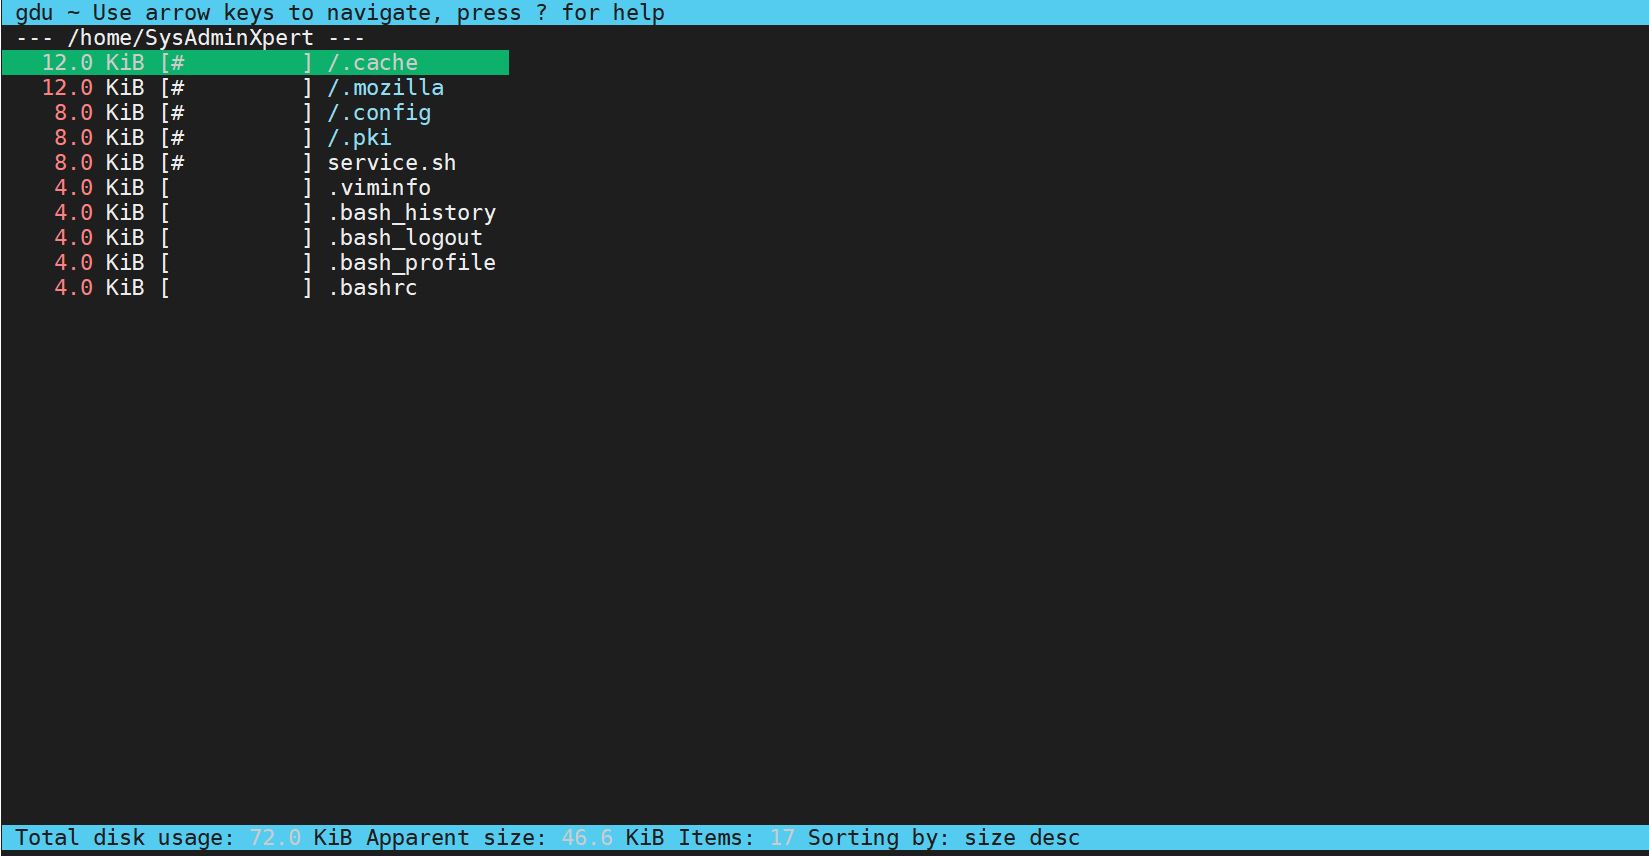
$gdu
Just run gdu command line without any argument, so that it will scan the current working directory
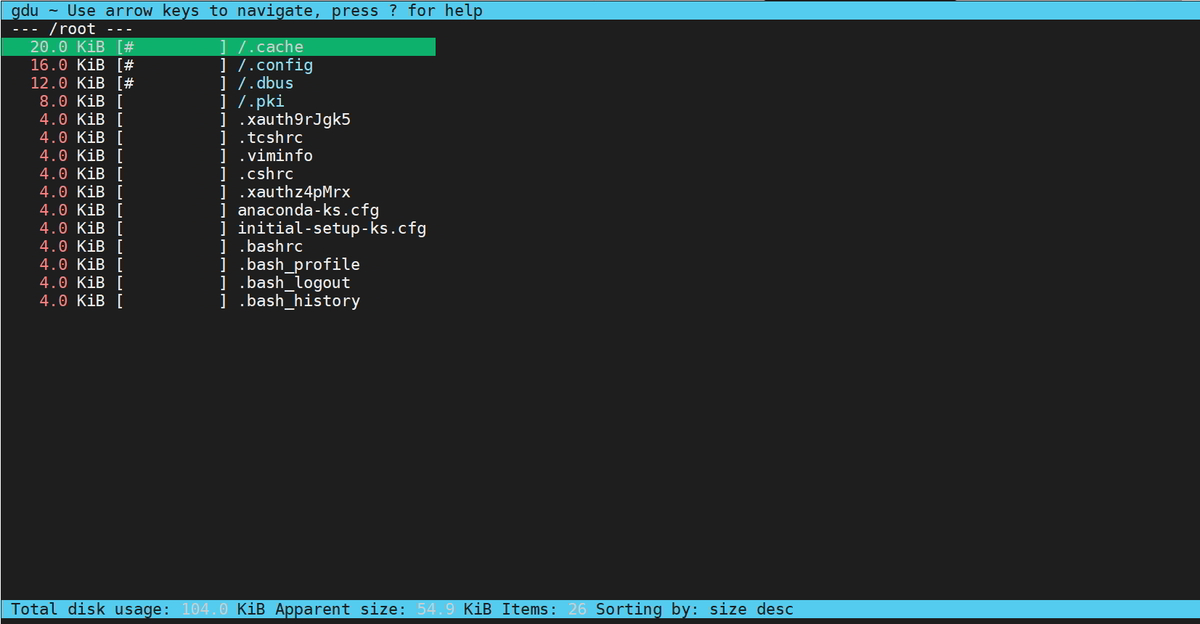
To scan a particular directory provide a directory path as an argument.
$ sudo gdu /root
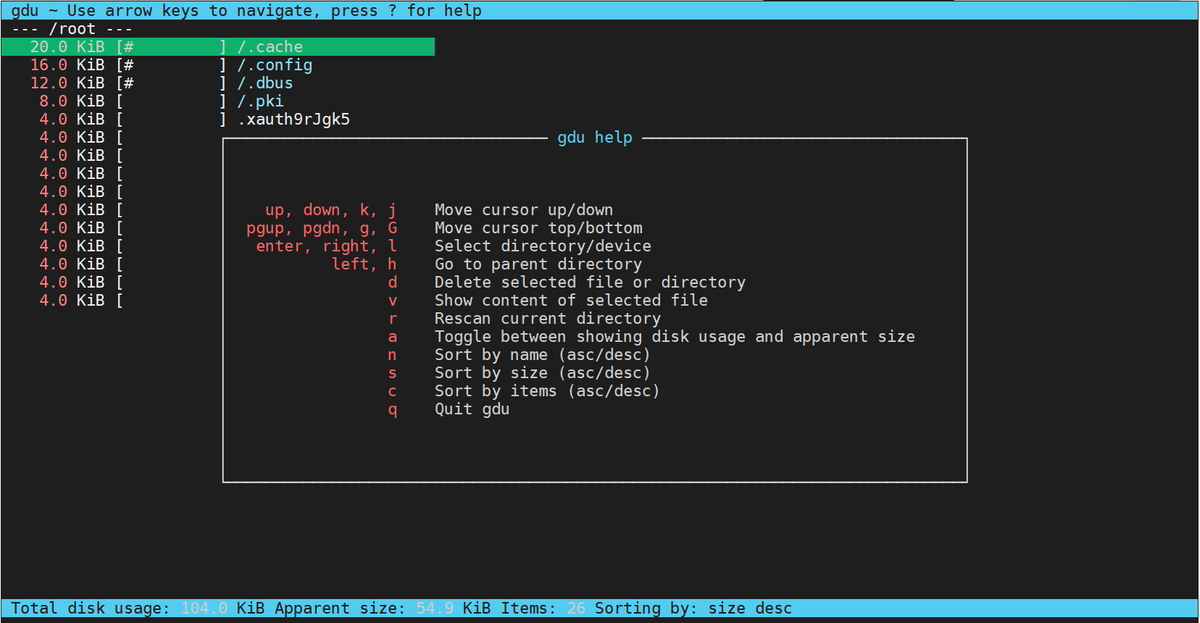
Press ‘?’ to know more operation which can be performed by Gdu tool.
gdu command line help:
   up, down, k, j    Move cursor up/down

 pgup, pgdn, g, G    Move cursor top/bottom

  enter, right, l    Select directory/device

          left, h    Go to parent directory

                d    Delete selected file or directory

                v    Show content of selected file

                r    Rescan current directory

                a    Toggle between showing disk usage and apparent size

                n    Sort by name (asc/desc)

                s    Sort by size (asc/desc)

                c    Sort by items (asc/desc)

                q    Quit gdu
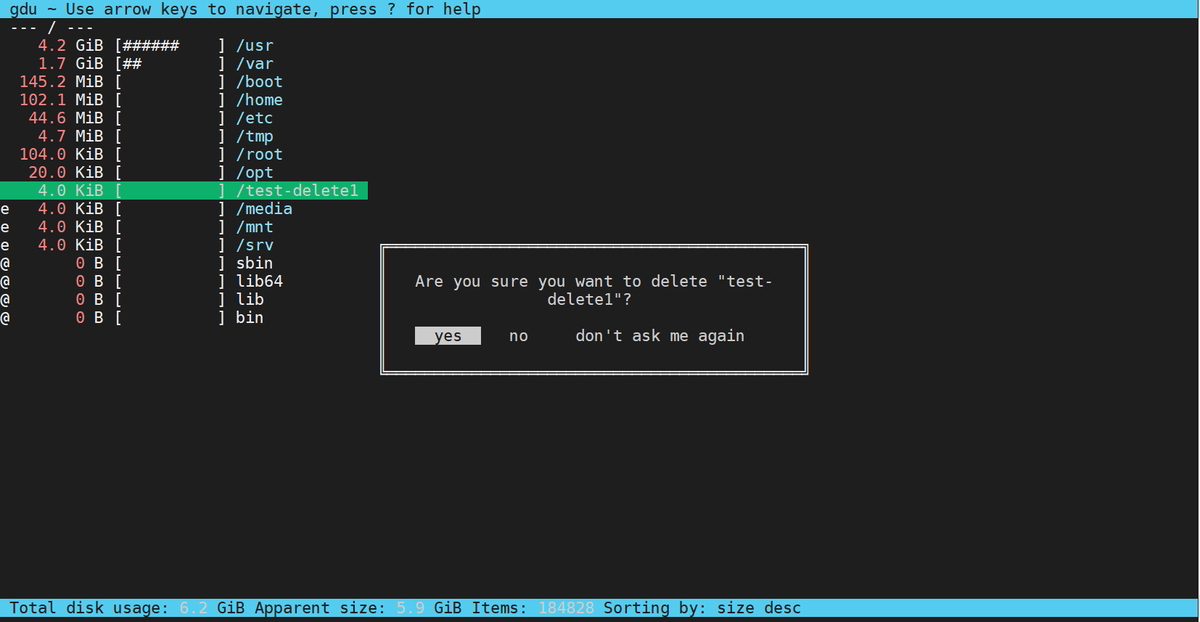
Navigate to the file or directory which needs to be deleted by moving the cursor up/down and press the “d” key. You will get a prompt confirmation.
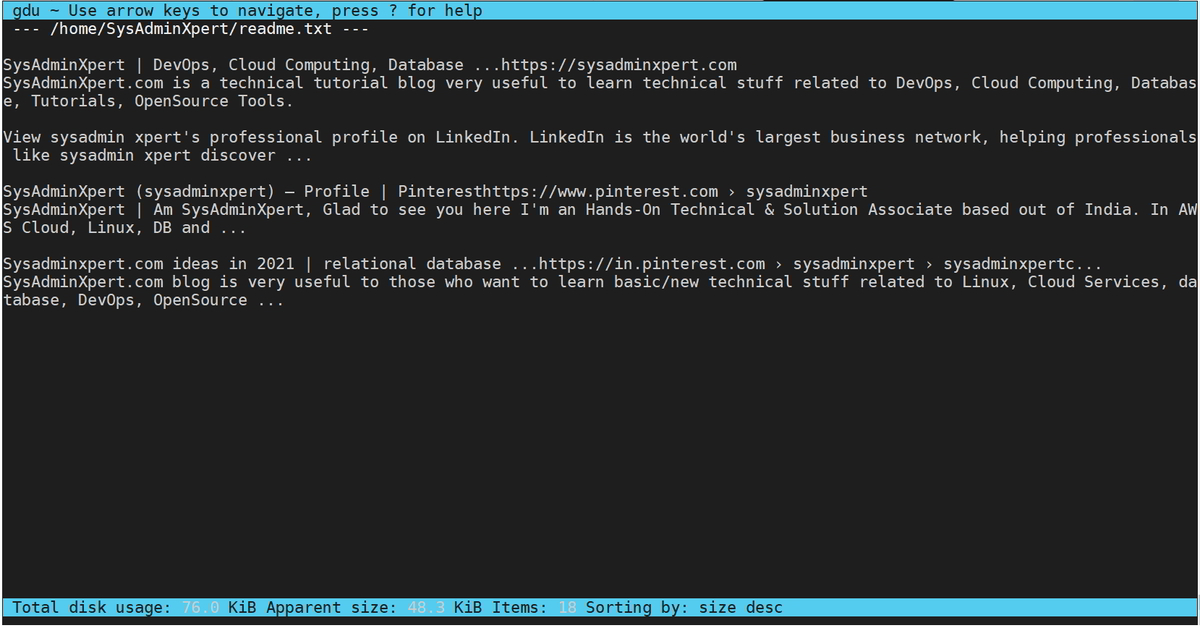
View the content of the file press ‘v’ key and close the view press escape key.
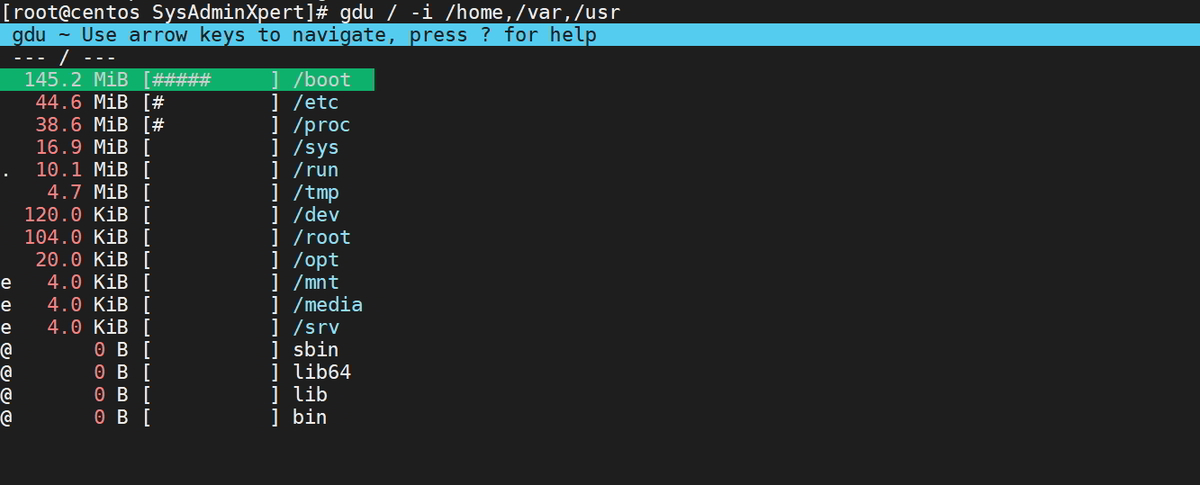
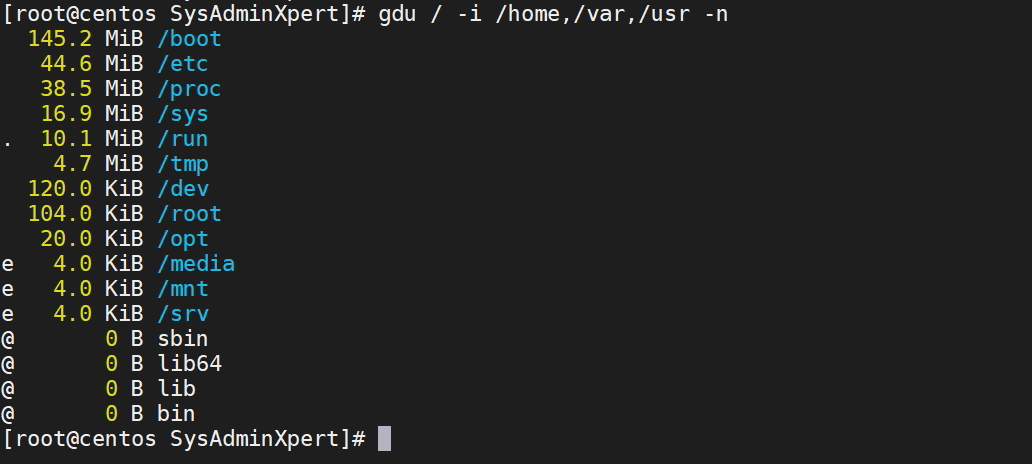
To ignore any specific directory use -i option and pass directory with comma-separated.
$ gdu / -i /home,/var,/usr
As per the above screenshot, there is one prefixed character for a file or directories and each has meaning as follows:
[ ! ] ⇒ Error while reading directory

[ . ] ⇒ Error while reading subdirectory.

[ @ ] ⇒ File is socket or simlink.

[ H ] ⇒ Hardlink which is already counted.

[ e ] ⇒ Empty directory.
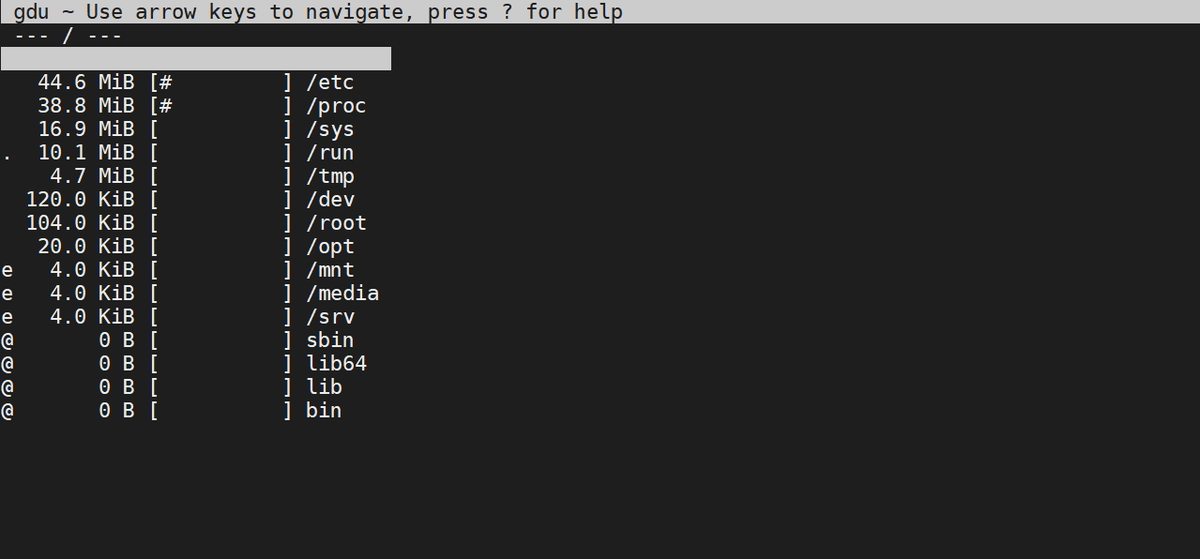
By using -c you can change gdu terminal output colour to black background and white text.
If you don’t like interactive mode then you can choose non-interactive which flag -n in gdu command.
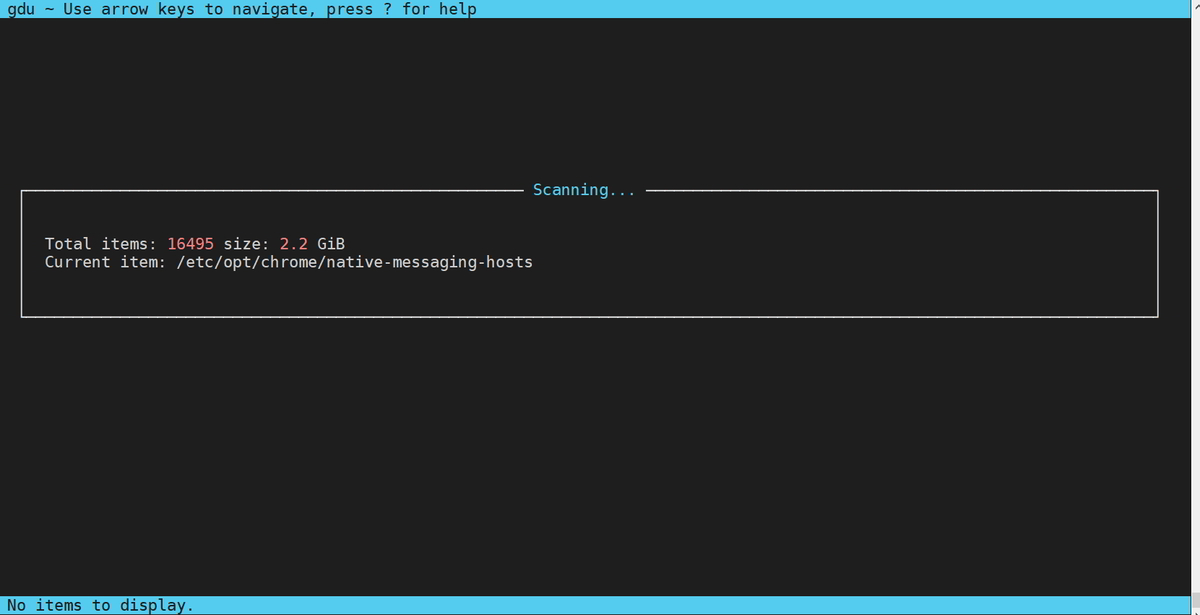
When you want to see the usage of numerous files and directories gdu tool scan first and then shows the usage.
eg: $ gdu /
Some Gdu examples:
gdu -a # show apparent size instead of disk usage
gdu <some_dir_to_analyze> # analyze given dir
gdu -d # show all mounted disks
gdu -l ./gdu.log <some_dir> # write errors to log file
gdu -i /sys,/proc / # ignore some paths
gdu -c / # use only white/gray/black colors
gdu -n / # only print stats, do not start interactive mode
gdu -np / # do not show progress, useful when using its output in a script
gdu / > file # write stats to file, do not start interactive mode
This is the end of the article, Gdu tool for Disk Usage Analyzer for Linux.
