In this tutorial, we’ll explain to you how to install Ansible on CentOS 7. Ansible is an open-source tool for software provisioning, application deployment tool and configuration management which enable infrastructure as code.
Prerequisites to Install Ansible on CentOS 7
- You need CentOS 7 installed on Server/VM
- You must be logged in CentOS 7 via SSH as sudo or root user.
Steps to Install Ansible on CentOS 7
Step 1: Update the System
this will update your system with the latest packages and security patches.
$ sudo yum -y update
Step 2: Install EPEL Repository
EPEL repository is free, it provides many extra open source software packages and it is not default available in YUM repository.
We are using EPEL repository because the default yum repository has an old ansible version available. In this tutorial, we’ll install Ansible on CentOS 7 with EPEL repository with latest version.
$ sudo yum install epel-release
Demo Output:
[root@CentOS-7 ~]# sudo yum install epel-release
Loaded plugins: fastestmirror, langpacks
Loading mirror speeds from cached hostfile
 * base: centos.excellmedia.net
 * extras: centos.excellmedia.net
 * updates: centos.excellmedia.net

Resolving Dependencies
--> Running transaction check
---> Package epel-release.noarch 0:7-11 will be installed
--> Finished Dependency Resolution

Dependencies Resolved
===============================================================================================================================
 Package                            Arch                         Version                    Repository                    Size
===============================================================================================================================

Installing:
 epel-release                       noarch                       7-11                       extras                        15 k

Transaction Summary
===============================================================================================================================
Install  1 Package

Total download size: 15 k
Installed size: 24 k
Is this ok [y/d/N]: y

Downloading packages:
epel-release-7-11.noarch.rpm                                                                            |  15 kB  00:00:18

Running transaction check
Running transaction test
Transaction test succeeded
Running transaction
  Installing : epel-release-7-11.noarch                                                                                    1/1
  Verifying  : epel-release-7-11.noarch                                                                                    1/1

Installed:
  epel-release.noarch 0:7-11

Complete!

[root@CentOS-7 ~]#
Step 3: Install Ansible on CentOS 7
$ sudo yum -y install ansible
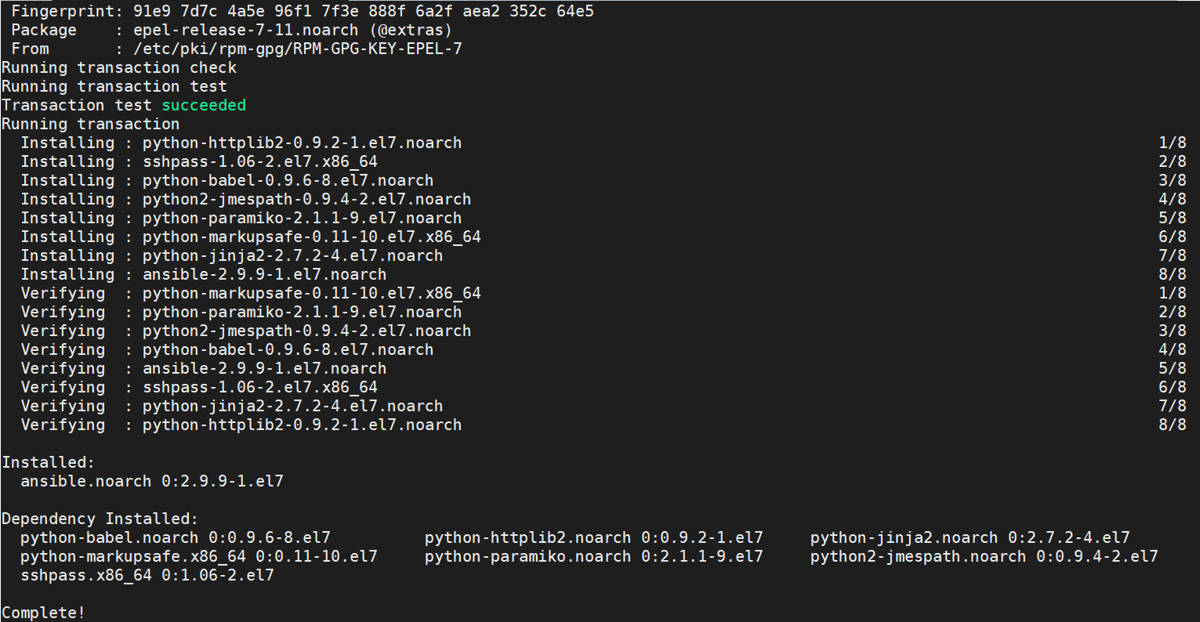
Step 4: Verify Ansible installation
$ ansible --version
Demo output
[root@CentOS-7 ~]# ansible --version
ansible 2.9.9
  config file = /etc/ansible/ansible.cfg
  configured module search path = [u'/root/.ansible/plugins/modules', u'/usr/share/ansible/plugins/modules']
  ansible python module location = /usr/lib/python2.7/site-packages/ansible
  executable location = /bin/ansible
  python version = 2.7.5 (default, Aug  7 2019, 00:51:29) [GCC 4.8.5 20150623 (Red Hat 4.8.5-39)]
[root@CentOS-7 ~]#
In the above output you can see we have install ansible with version “ansible 2.9.9”.
Step 5: Configuring Ansible Hosts
Hosts file is used in Ansible which keeps a track of all servers. Before communicate with other server this steps must be done.
$ sudo vi /etc/ansible/hosts
In this file you will find many examples to configure Ansible. the syntax is mentioned below.
Syntax
[group_name]

alias ansible_ssh_host=your_server_ip
The “group_name” refers to any servers listed under it with one word. You can also use a name which is known as an alias which refers to that server.
the server should be accessible via ssh-key authentication (password-less login), because it makes it very simple to handle. Ansible also supports password-based SSH authentication.
$ ssh root@your_server_ip
Let’s take an example: our servers IP are 192.168.5.1, 192.168.5.2 and 192.168.5.3. Let’s set this in an ansible hosts file.
vi /etc/ansible/hosts

[servers]
host1 ansible_ssh_host=192.168.5.1
host2 ansible_ssh_host=192.168.5.2
host3 ansible_ssh_host=192.168.5.3
Demo Output
[root@CentOS-7 ~]# cat /etc/ansible/hosts
# This is the default ansible 'hosts' file.
#
# It should live in /etc/ansible/hosts
#
#   - Comments begin with the '#' character
#   - Blank lines are ignored
#   - Groups of hosts are delimited by [header] elements
#   - You can enter hostnames or ip addresses
#   - A hostname/ip can be a member of multiple groups

# Ex 1: Ungrouped hosts, specify before any group headers.
## green.example.com
## blue.example.com
## 192.168.100.1
## 192.168.100.10

# Ex 2: A collection of hosts belonging to the 'webservers' group

## [webservers]
## alpha.example.org
## beta.example.org
## 192.168.1.100
## 192.168.1.110

# If you have multiple hosts following a pattern you can specify
# them like this:

## www[001:006].example.com

# Ex 3: A collection of database servers in the 'dbservers' group

## [dbservers]
##
## db01.intranet.mydomain.net
## db02.intranet.mydomain.net
## 10.25.1.56
## 10.25.1.57

# Here's another example of host ranges, this time there are no
# leading 0s:
## db-[99:101]-node.example.com

[servers]
host1 ansible_ssh_host=192.168.5.1
host2 ansible_ssh_host=192.168.5.2
host3 ansible_ssh_host=192.168.5.3
[root@CentOS-7 ~]#
You may get below error, because ansible by default try to connect to remote host with current user name. and if the user doesn’t exist on the remote server then you will get below error.
Ansible connection error
host1 | UNREACHABLE! => {
    "changed": false,
    "msg": "Failed to connect to the host via ssh.",
    "unreachable": true
}
Step 6: How to tell Ansible to connect remote server / group with specific user.
Create a directory in the Ansible
sudo mkdir /etc/ansible/group_vars
Create YAML file in group_vars directory
$ sudo vim /etc/ansible/group_vars/servers
Add below code in file
---

ansible_ssh_user: user1
Now, Ansible will use “user1” user to connect to server group.
Demo output
[root@CentOS-7 ~]# cat /etc/ansible/group_vars/servers
---
ansible_ssh_user: user1

[root@CentOS-7 ~]#
Step 7: Ping the remote server
$ ansible -m ping all
Demo Output:
host1 | SUCCESS => {
    "changed": false,
    "ping": "pong"
}

host3 | SUCCESS => {
    "changed": false,
    "ping": "pong"
}

host2 | SUCCESS => {
    "changed": false,
    "ping": "pong"
}
Some of the ping commands are mentioned below:
$ ansible -m ping servers

$ ansible -m ping host1

$ ansible -m ping host1:host2
Command to check memory on remote host:
$ ansible -m shell -a 'free -m' host1
Demo Output
host1 | SUCCESS | rc=0 >>

host1 | SUCCESS | rc=0 >>

              total        used        free      shared  buff/cache   available

Mem:           3789         399        2672          11         717        3147

Swap:          8191           0        8191
This is the end of tutorial, you have learned how to Install Ansible on CentOS 7.