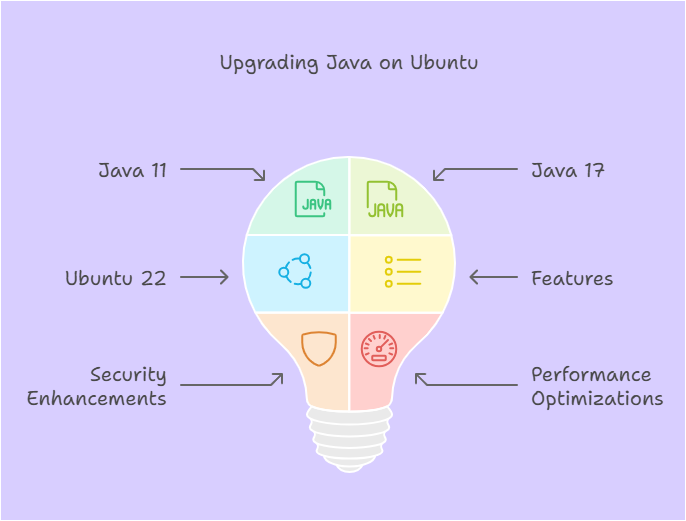
In this article, we’ll explain how to upgrade Java 11 to Java 17 on Ubuntu 22. Java, a versatile programming language, is widely used for developing various applications, from web to mobile to enterprise systems. With each new version of Java, developers gain access to improved features, security enhancements, and performance optimizations. In this guide, we will walk you through the process of upgrading from Java 11 to Java 17 on an Ubuntu 22 system.

Steps to Upgrade Java 11 to Java 17 on Ubuntu 22
1. Introduction
Java 17 comes with exciting features that enhance both development and performance. By upgrading from Java 11 to Java 17, you can take advantage of these improvements and ensure your applications stay up-to-date and secure.
2. Check the Current Java Version
Before proceeding with the upgrade, it’s important to know which version of Java is currently installed on your system. Open a terminal and enter the following command:
java -version
Demo Output:
root@SysAdminXpert:~# java -version
openjdk version "11.0.20" 2023-07-18
OpenJDK Runtime Environment (build 11.0.20+8-post-Ubuntu-1ubuntu122.04)
OpenJDK 64-Bit Server VM (build 11.0.20+8-post-Ubuntu-1ubuntu122.04, mixed mode, sharing)
root@SysAdminXpert:~#
3. Preparing for the Upgrade
Upgrading Java requires careful preparation to avoid any potential issues. First, create a backup of your existing projects and configurations. This step ensures that you can revert to your previous state if something goes wrong during the upgrade process.
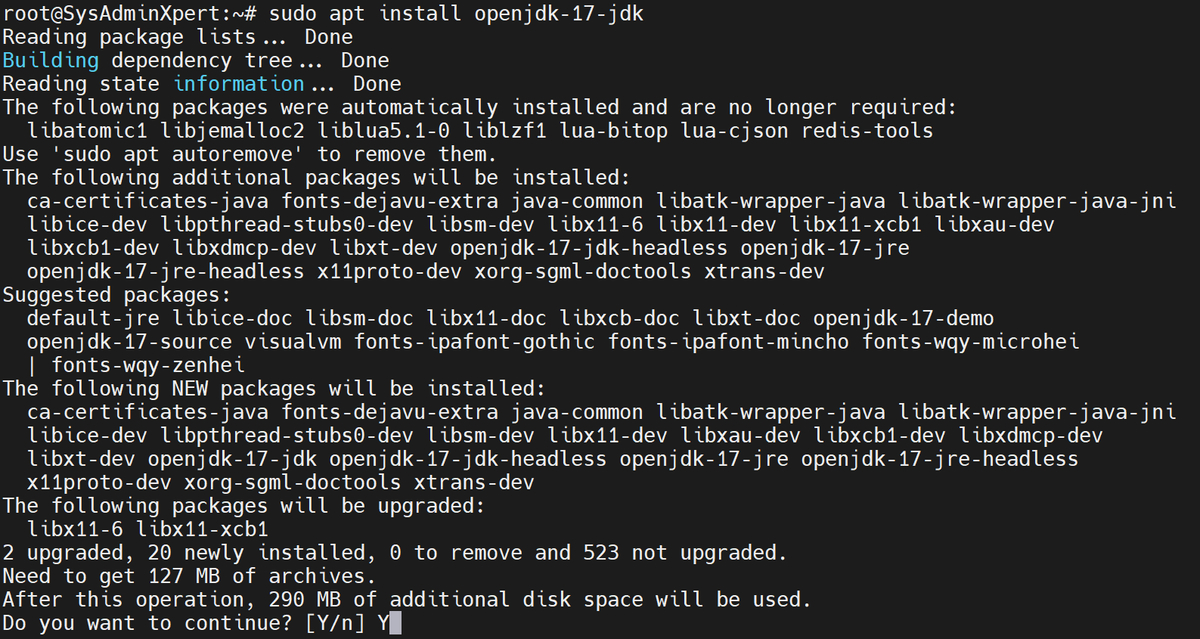
4. Downloading Java 17
To obtain Java 17, you can visit the official Oracle website or use package managers like apt or apt-get. The latter option is recommended for its simplicity. Run the following commands:
sudo apt update
sudo apt install openjdk-17-jdk
5. Installing Java 17
After downloading Java 17, proceed with the installation. The package manager will handle the installation process for you. Once it’s complete, you can verify the installation by checking the installed version:
java -version

6. Set the default Java version on Ubuntu
If multiple Java versions are installed on your system, then you need to follow the steps below to set a default Java version.
Using the update-alternatives command to change the default Java version
$ sudo update-alternatives --config java
7. Updating Environment Variables
For your system to recognize the new Java version, you need to update the JAVA_HOME and PATH environment variables. Edit the .bashrc or .bash_profile file and add the following lines:
export JAVA_HOME=/usr/lib/jvm/java-17-openjdk-amd64

export PATH=$PATH:$JAVA_HOME/bin

check out, If you want to permanetly Configure JAVA_HOME in Ubuntu.
8. Verifying the Installation
To confirm that the environment variables are set correctly, reopen the terminal and type:
echo $JAVA_HOME
Demo Output:
root@SysAdminXpert:~# echo $JAVA_HOME
/usr/lib/jvm/java-17-openjdk-amd64
9. Testing Your Applications
Before fully committing to Java 17, it’s essential to test your applications to ensure they work as expected. Run your projects and perform comprehensive testing to identify any compatibility issues.
10. Troubleshooting Common Issues
During the upgrade, you might encounter various issues such as compatibility problems or classpath conflicts. Check online resources, forums, and community support to find solutions to these common problems.
11. Conclusion
Upgrading Java 11 to Java 17 on Ubuntu 22 is a significant step toward modernizing your development environment and benefiting from the latest Java features. By following the steps outlined in this guide, you can seamlessly transition to the new version and continue building robust and efficient applications.
12. Frequently Asked Questions
Q1: Can I have multiple Java versions installed simultaneously?
A: Yes, you can have multiple Java versions installed on your system. Use the update-alternatives command to switch between versions.
Q2: Will upgrading Java affect my existing projects?
A: Upgrading might introduce compatibility issues. It’s recommended to thoroughly test your applications before upgrading in a production environment.
Q3: Is it necessary to update environment variables?
A: Yes, updating environment variables is crucial for your system to recognize the new Java version and ensure smooth execution of Java applications.
Q4: Can I uninstall the old Java version after upgrading?
A: It’s advisable to keep the old version until you’re certain that all your applications are compatible with the new version.
Q5: Where can I find more information about the changes in Java 17?
A: The official Java documentation and release notes provide detailed information about the changes and improvements in Java 17.
See also:
Steps to Upgrade Java 8 to Java 11 on CentOS 7
How to Upgrade Java 11 To Java 16 on Rocky Linux or AlmaLinux
How to Upgrade Java 8 To Java 11 on Rocky Linux or AlmaLinux
How to Install Java 8 on Rocky Linux 8 / CentOS 8 / RHEL 8: A Step-by-Step Guide
How to Upgrade Java 8 to Java 11 on Ubuntu 20
How to Install Java 8 on Ubuntu 20
How to Upgrade Java 16 To Java 17 on Rocky Linux 8 or AlmaLinux 8