In this tutorial, we’ll explain how to Install and Configure Cacti on Ubuntu 18 LTS. Cacti is one of the core network monitoring tool used for monitoring servers.
How to Install and Configure Cacti on Ubuntu 18 LTS
Cacti is one of the opensource free web-based network monitoring tools. Cacti as inbuild features that provide graphs easy to analyze and plan for further Infra scale as per the alerts. lets see the steps to install cacti on Ubuntu
[ads1]
Steps to install Cacti on Ubuntu 18.04
Let’s see what all Prerequisites for cacti on ubuntu
Take the access of the Ubuntu server via ssh with root user or switch to the root user.
$ sudo su -
OR
$ su -
Now, update the Ubuntu repository using apt cmd.
$ apt update
OR
$ sudo apt update
Now, Install Apache, PHP and MySQL package on the Ubuntu machine.
$ apt install -y php-mysql apache2 mariadb-client mariadb-server libapache2-mod-php

$ apt install -y php-gd php-gmp php-xml php-ldap php-mbstring

$ apt install -y snmp php-snmp rrdtool librrds-perl
Now, Create a Cacti Database on Ubuntu server
[ads3]
Access Database follows commands:
$ mysql -u root -p
syntax: create databse <databse-name>;
create database cacti;

Grant permission cacti database

GRANT ALL ON cacti.* TO cactiuser@localhost IDENTIFIED BY 'cactipassword';

flush privileges;

exit

mysql -u root -p mysql < /usr/share/mysql/mysql_test_data_timezone.sql

GRANT SELECT ON mysql.time_zone_name TO cactiuser@localhost;

flush privileges;

exit
Recommended settings for the database to get better performance:
nano /etc/mysql/mariadb.conf.d/50-server.cnf

#Add the below variables in [mysqld] section.

collation-server = utf8mb4_unicode_ci

max_heap_table_size = 128M

tmp_table_size = 64M

join_buffer_size = 64M

innodb_buffer_pool_size = 512M

innodb_doublewrite = off

innodb_additional_mem_pool_size=96M

innodb_flush_log_at_timeout = 3

innodb_read_io_threads = 32

innodb_write_io_threads = 16
Set Timezone in php.ini file.
[ads1]
$ nano /etc/php/7.2/apache2/php.ini

#Add below lines

date.timezone = EST
Download Cacti for ubuntu 18.04
$ cd /opt

$ wget https://www.cacti.net/downloads/cacti-latest.tar.gz
Now, Extract the downloaded Cacti archive
$ tar -zxvf cacti-latest.tar.gz

$ mv cacti-1* /opt/cacti
Import the cacti.sql file as a default Cacti database data.
$ mysql -u root -p cacti < /opt/cacti/cacti.sql
update the Cacti config file
nano /opt/cacti/include/config.php

Make the changes respectevly.

/* make sure these values are your actual database/host/user/password */

$database_type = "mysql";

$database_default = "cacti";

$database_hostname = "localhost";

$database_username = "cactiuser";

$database_password = "cactipassword";

$database_port = "3306";

$database_ssl = false;
Edit the crontab file.[ads4]
Add below entry in crontab, For every five min cacti can poll
nano /etc/crontab

*/5 * * * * www-data php /opt/cacti/poller.php > /dev/null 2>&1
For remote web installation update Apache config file.
nano /etc/apache2/sites-available/cacti.conf

Alias /cacti /opt/cacti

<Directory /opt/cacti>

Options +FollowSymLinks

AllowOverride None

<IfVersion >= 2.3>

Require all granted

</IfVersion>

<IfVersion < 2.3>

Order Allow,Deny

Allow from all

</IfVersion>

AddType application/x-httpd-php .php

<IfModule mod_php.c>

php_flag magic_quotes_gpc Off

php_flag short_open_tag On

php_flag register_globals Off

php_flag register_argc_argv On

php_flag track_vars On

# this setting is necessary for some locales

php_value mbstring.func_overload 0

php_value include_path .

</IfModule>

DirectoryIndex index.php

</Directory>
Enable virtual host[ads1]
$ a2ensite cacti
Now, restart Apache and MySQL service:
$ systemctl restart mysql

$ systemctl restart apache2
Create Log file and give permission to Apache user to write data to the cacti directory.
$ touch /opt/cacti/log/cacti.log

$ chown -R www-data:www-data /opt/cacti/log/

$ chown -R www-data:www-data /opt/cacti/resource/

$ chown -R www-data:www-data /opt/cacti/cache/

$ chown -R www-data:www-data /opt/cacti/scripts/

$ chown -R www-data:www-data /opt/cacti/rra
Steps to Setup Cacti
Goto Browser and access cacti as follows:
[ads2]
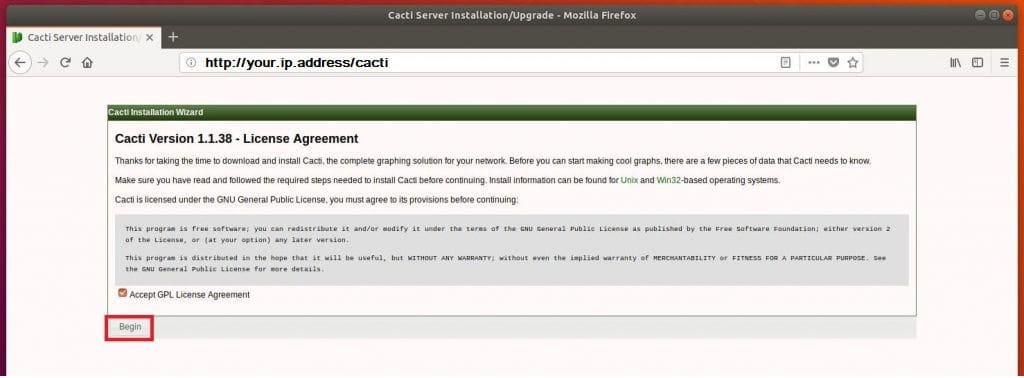
http://your.ip.address/cacti
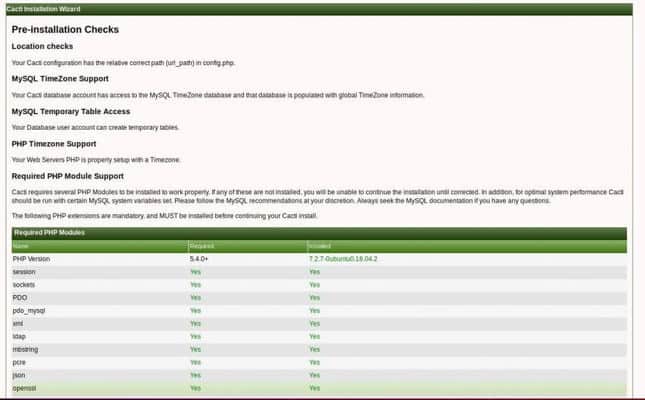
Cacti Pre-Installation Checks
[ads3]

Click on Next
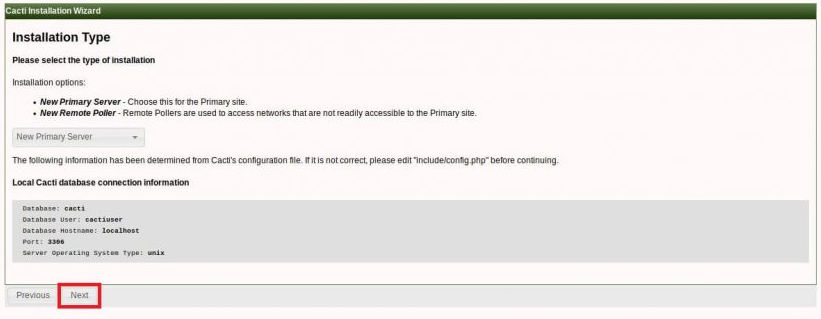
Now select the new primary server for new installation and click next.
Display if any package is missing
[ads1]
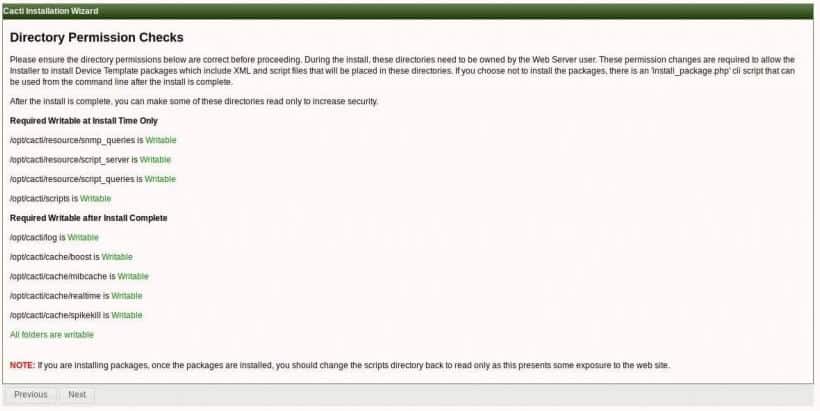
Checks if any permission issue on a directory
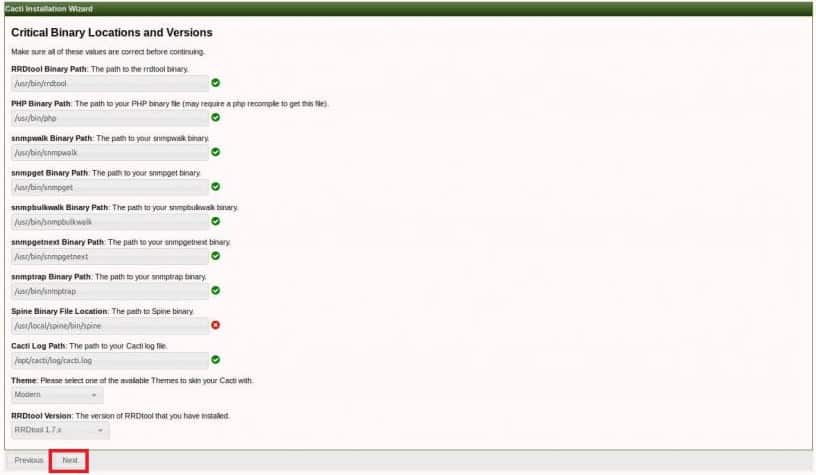
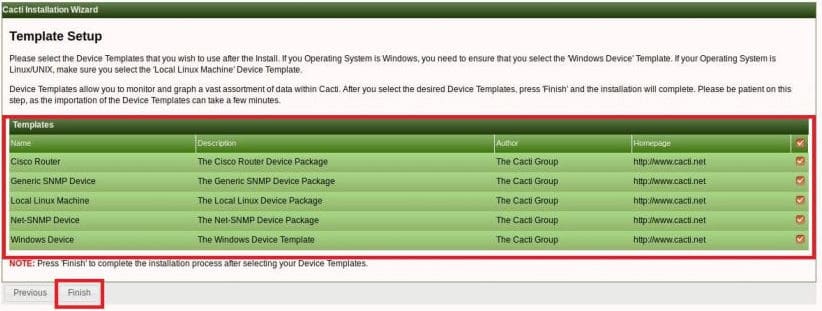
Now, Select the Cacti monitoring template and click on finish
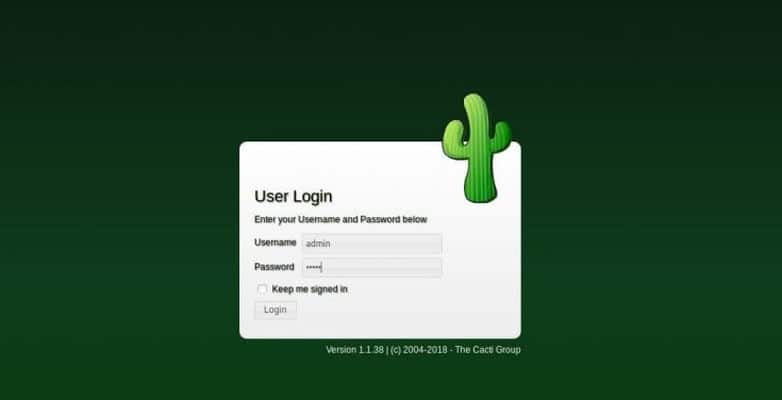
Once you have setup the Cacti Installation, Goto Dashboard.
Default username: admin
Default password: admin
[box type=”note” align=”” class=”” width=””]Change the password once you log in.[/box]
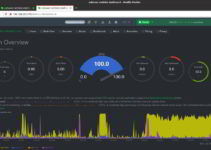
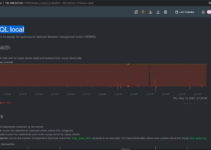
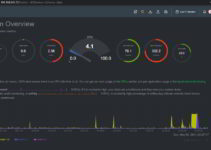
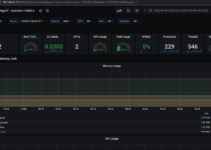
Once you login you will see Cacti Dashboard

To see graphs of local machine Goto Graphs > Default tree > local Linux machine.
In this tutorial, you learned How to Install and Configure Cacti on Ubuntu 18 LTS.
Thanks a lot for reading this article so far. If you like this article/tips then please share it with your colleagues/friends.
[ads1]
[divider style=”normal” top=”20″ bottom=”20″]
Don’t miss to check out other Network Monitoring / Server monitoring blogs.
How to execute script or command on reboot or startup in Linux
What is Linux Software yum and rpm
How To Install Tomcat 9 on Ubuntu 18
If you have any questions or suggestions, comment us below.


Didn’t work for me.
I followed the tutorial step by step but when i try to load the localhost/cacti the page shows HTTP ERROR 500.
Do you know what might be causing this?